Revamp Your Classroom: A Step-by-Step Guide to Efficient Seating Arrangements

Revamping your classroom seating arrangement is more than just a visual makeover – it’s an opportunity to foster collaboration, enhance behavioural management, and support a positive learning environment. An efficient seating plan can significantly impact student engagement and teacher efficiency. In this blog, we’ll take you through a step-by-step guide to creating seating arrangements that work for your unique classroom dynamics. Drawing on our own experiences and backed by data-driven insights, we’re excited to share practical tips that you can put into action immediately. Whether you’re a teacher seeking to streamline management or a school leader aiming to implement systemic changes, read on for our comprehensive blueprint.
Understanding the Benefits of an Efficient Seating Arrangement
Classroom seating isn’t just about positioning desks or chairs – it’s about optimizing relationships, supporting individual learning needs, and using space effectively. Here are some of the key benefits:
- Improved Behaviour Management: A well-planned seating arrangement can reduce disruptions and guide student interactions in positive ways.
- Enhanced Collaboration: Students are more likely to engage in collaborative projects when seating supports group dynamics and encourages discussion.
- Personalized Learning: Grouping students by learning needs and social dynamics helps tailor instructional strategies and supports differentiated learning.
- Teacher Efficiency: With a clear seating plan, teachers can quickly identify students, learn their names, and manage behaviour with ease. In fact, many educators have discovered that using digital tools to design these plans saves them hours every year.
Step 1: Assess Your Classroom Layout
Every classroom is unique, which means the first step in revamping your seating plan is to thoroughly assess the physical space you have. Consider the following:
- Room Dimensions: Evaluate the size and shape of your classroom. How many desks can comfortably fit while leaving enough room for movement?
- Natural Lighting: Identify areas that receive more natural light. These spots might be ideal for students who need less stimulation or for quieter zones.
- Access to Technology: Ensure that every student has access to outlets or digital devices if needed. This is particularly essential in classrooms that integrate technology into lessons.
- Flexibility: Think about how easily the space can be modified. Can desks be rearranged quickly for group work or activities?
By mapping out your classroom furniture, entrances, and exits, you can visualize a more effective layout that balances comfort with purposeful design. For inspiration, many educators have turned to digital solutions that help automate this planning process. Tools like Mega Seating Plan offer data-driven insights that take into account the unique characteristics and behaviours of your students.
Step 2: Understand Your Students’ Behaviour and Needs
The next step is to delve into the specifics of student behaviour and learning preferences. A seating plan that doesn’t account for these factors might fall short of addressing classroom challenges. Here’s what to consider:
- Diverse Learning Styles: Identify students who learn best through interaction versus those who thrive on independent work. Seating them accordingly can optimize their learning experience.
- Behavioural Patterns: Some students may be prone to distraction, while others inspire calm and focus. Consider pairing these dynamics deliberately to create a balanced classroom atmosphere.
- Social Dynamics: Understand the relationships among students. Who thrives when working together, and who could benefit from being positioned further away from potential distractions?
- Special Needs or SEN Considerations: Ensure that students with special needs are seated in locations that provide both comfort and necessary support from aides or instructors.
Using class data is a powerful tool. Incorporate insights from previous academic years, teacher observations, and even student feedback to inform your decisions. The goal is to create an environment where every student’s needs are met, and behaviours are nurtured positively.
Step 3: Set Clear Goals for Your Seating Arrangement
Before you begin arranging desks and chairs, define what you want to achieve with your seating plan. Clear objectives help guide the layout and ensure that every decision supports your overarching vision. Some common goals include:
- Enhancing Group Work: Arranging desks in clusters or circles to promote discussion and teamwork.
- Minimizing Disruptions: Structuring the classroom to reduce opportunities for off-task behaviour or negative interactions.
- Supporting Peer-to-Peer Learning: Creating spaces where more advanced students can mentor others.
- Personalized Interventions: Allowing for flexibility in arrangements so that changes can be made based on shifting classroom dynamics.
Establishing these goals early on enables you to measure the success of your seating arrangement over time, adjusting as needed based on what benefits your students the most.
Step 4: Leverage Technology for Data-Driven Seating Plans
Modern classrooms have the advantage of technology, which has transformed how educators approach seating arrangements. Digital tools can analyze up to thousands of seating combinations while factoring in student characteristics, preferences, and behaviours. If you’re looking to implement a system that leverages artificial intelligence to optimize classroom seating, consider the following benefits:
- Time Efficiency: Automation tools help generate seating charts in seconds, saving valuable time for teachers to focus on instruction.
- Data Richness: The integration of demographic and behavioural data means that seating plans are tailored to your specific class.
- Real-Time Adjustments: Digital systems allow you to quickly modify seating arrangements, ensuring that any changes in classroom dynamics are promptly addressed.
- Seamless Integration: Tools such as Mega Seating Plan can pull data directly from your school’s MIS/SIS systems, so your classes and student details are always up to date.
For a visual representation of how technology can reshape your classroom, take a look at this inspirational image:

Step 5: Designing Your Ideal Seating Chart
Designing your seating plan is both an art and a science. Here are some key considerations to make the design process smoother:
- Create a Base Layout: Start by sketching the dimensions of your classroom, marking windows, doors, and any fixed elements like whiteboards or smart boards.
- Consider Different Formats: Explore various seating formats such as rows, circles, U-shaped layouts, or clusters. Each format has its own advantages depending on lesson plans and student dynamics.
- Accommodate Flexibility: Build in the ability to adapt the layout for different types of lessons, group activities, or individual assessments. Flexibility is key.
- Keep Accessibility in Mind: Ensure that pathways between desks are wide enough for movement and that exit routes remain accessible in case of emergencies.
Draft a preliminary seating chart and then review it with a few trusted colleagues. Getting feedback from others can help refine your layout and uncover challenges you might have overlooked.
Step 6: Implementing and Testing Your Seating Arrangement
Once you have a draft seating plan in hand, move on to implementing it in your classroom. The initial transition might involve some adjustments as you and your students adapt to the new format. Here’s how to ease the transition:
- Introduce the Concept: Explain to your students the rationale behind the new layout. Emphasize how it’s designed to help them learn better and work more effectively together.
- Trial Run: Consider running a pilot session with the new seating arrangement during a low-stakes activity. This allows you to observe interactions and make any necessary tweaks.
- Solicit Feedback: Ask your students for their impressions. Often, students can identify minor adjustments that can improve the flow of the class.
- Adjust Gradually: Don’t be afraid to modify the seating plan over the course of several weeks. Flexibility is essential until you settle on the arrangement that works best.
Monitoring the effect of your new seating plan can be as simple as tracking behavioural changes, student engagement levels, and overall classroom energy. With each change, keep an open line of communication with your students.
Step 7: Evaluating and Refining the Seating Plan
After implementing the new seating arrangement, it’s time to evaluate its effectiveness. Regular evaluation allows you to fine-tune the layout to better meet the needs of the classroom. Consider these strategies:
- Observation: Spend time in each group to see how students interact. Are they more engaged? Is there a noticeable decrease in disruptions?
- Feedback Sessions: Hold regular discussions or anonymous surveys where students and fellow teachers can provide input on the seating layout.
- Data Tracking: If you’re using a digital seating plan, leverage the data analytics features to track movement patterns and behavioural trends. This can help you identify what’s working and what isn’t.
- Continuous Refinement: Treat the seating arrangement as a living document—it’s perfectly acceptable to update it based on how your classroom changes throughout the year.
Implementing a systematic evaluation process not only ensures the seating plan remains effective but also demonstrates to your students that their learning environment is continually being improved for their benefit.
Step 8: Creating an Environment That Supports Success
Beyond the physical desk arrangement, a successful classroom is one that supports learning through its overall environment. Consider these additional aspects:
- Visual Aids and Signage: Clearly label seating areas, especially if you’re using flexible seating options. Use colour-coded markers or signs to designate areas for group work, quiet study, or creative activities.
- Technology Integration: Ensure that interactive tools such as smart boards or digital projectors are positioned for optimal visibility and use during lessons.
- Personal Touches: Allow students to have a say in certain aspects of the design. For example, letting them help choose desk decorations or group assignments can foster a sense of ownership and community.
- Accessibility: Make sure that every student has unobstructed access to resources, whether that’s textbooks, digital devices, or support materials. Inclusive design is key for a respectful and productive learning environment.
Integrating Practical Tips with Technology Tools
In today’s educational landscape, digital solutions have become invaluable. The challenge lies not only in designing a seating plan but also in the method of implementation. Here’s how technology can support your efforts:
- Digital Templates: Consider adopting digital seating charts that can be easily modified and saved. This allows you to experiment with different layouts without the hassle of physical rearrangements.
- Automatic Data Sync: With platforms that integrate with your school's management systems, such as Mega Seating Plan, you can import entire classes complete with information on student demographics, assessment data, and even behavioural patterns. Such seamless integration not only saves time but ensures accuracy in seating decisions.
- Interactive Interfaces: Choose solutions that allow for drag-and-drop functionality. This helps you visualize different combinations instantly and share your seating plans with colleagues for collaborative decision-making.
- Feedback Integration: Some digital tools can even incorporate student feedback over time, enabling continuous refinement of your seating arrangement based on direct user input.
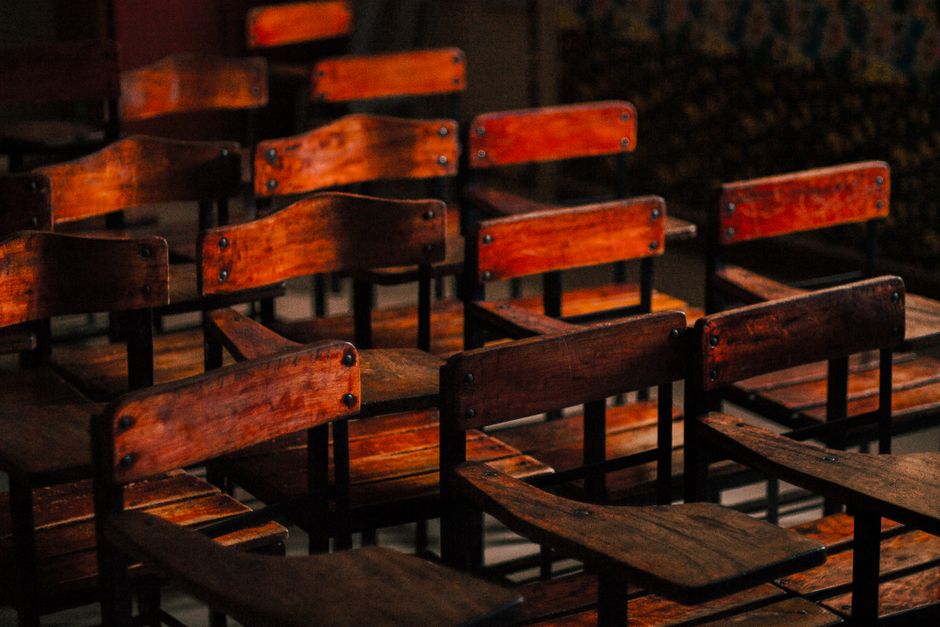
For a practical demonstration of how modern layouts can revitalize your classroom, consider this inspiring image:
Best Practices to Keep in Mind
While the above steps provide a comprehensive framework, here are a few best practices to consider as you refine your seating plan:
- Plan for Change: Recognize that a seating arrangement should be dynamic. What works at the beginning of the term may need to be adjusted as the year progresses and classroom dynamics evolve.
- Focus on Communication: Ensure that both students and fellow educators understand the purpose behind seating changes. Open communication leads to smoother transitions and greater buy-in from everyone involved.
- Keep It Simple: While it’s tempting to incorporate numerous elements into your design, simplicity often yields the best results. Aim for clarity and functionality over unnecessary complications.
- Document Changes: Maintain records of your seating arrangements and note observations over time. This documentation is invaluable when assessing what improvements have worked or when making future adjustments.
Putting It All Together: A Real-World Example
Imagine a classroom where students are consistently distracted by chatty neighbours and random disruptions. The teacher, aware of these issues, decides to revamp the traditional row seating into a series of small clusters, each designed for group interaction but with designated quiet zones for focused work. The teacher begins by:
- Assessing the room to identify the best locations for grouped desks and individual study areas.
- Collecting data on student interaction patterns and behavioural tendencies from previous observations.
- Using a digital tool that synchronizes with the school’s student information system, instantly generating a seating plan that considers every student's characteristics.
- Implementing the new arrangement on a trial basis with a low-risk activity, then gathering feedback and fine-tuning the setup.
The result? A calmer, more focused environment where every student feels seen and supported. Not only does this reduce disruptions, but it also encourages peer-to-peer learning and makes classroom management a breeze for the teacher.
Monitoring Effectiveness and Adapting Over Time
Revamping your seating plan isn’t a one-off task – it requires ongoing attention and flexibility. Here are a few steps to make sure your seating strategy continues to meet classroom needs:
- Regular Reviews: Set a monthly or quarterly reminder to review student performance and behaviour. Are there emerging patterns that suggest a further tweaking of the seating plan?
- Peer Feedback: Work closely with your colleagues to discuss what’s working and what isn’t. Sometimes a fresh perspective can highlight potential improvements.
- Student Reflections: Incorporate brief student surveys or discussions. Their insights can provide valuable context that might not be immediately noticeable from the teacher’s perspective.
- Data Analytics: For those using digital tools, regularly review analytics to see how seating arrangements correlate with behavioural and academic outcomes.
Final Thoughts
Revamping your classroom seating plan is an ongoing journey that can have a lasting impact on both student engagement and teaching effectiveness. By carefully assessing your space, understanding your students, setting clear objectives, leveraging technology, and continuously refining your approach, you can create an environment that truly supports learning. We believe that thoughtful planning combined with the right tools – like our Mega Seating Plan – can make all the difference in turning a traditional classroom into a thriving, dynamic learning ecosystem.
We hope this step-by-step guide has provided you with actionable insights and sparked ideas for your next classroom revamp. Remember, the best seating arrangements are those that evolve with the needs of your students and your teaching style. As you experiment and adjust, keep the focus on creating an environment where every student can succeed.
If you’re ready to save valuable time and harness the power of data-driven insights to design your next seating plan, do explore our Mega Seating Plan tool. It’s designed with teachers in mind – making your classroom management smoother and more efficient.
Happy planning, and here’s to building classrooms where every student feels supported and every teacher can focus on what matters most: teaching.